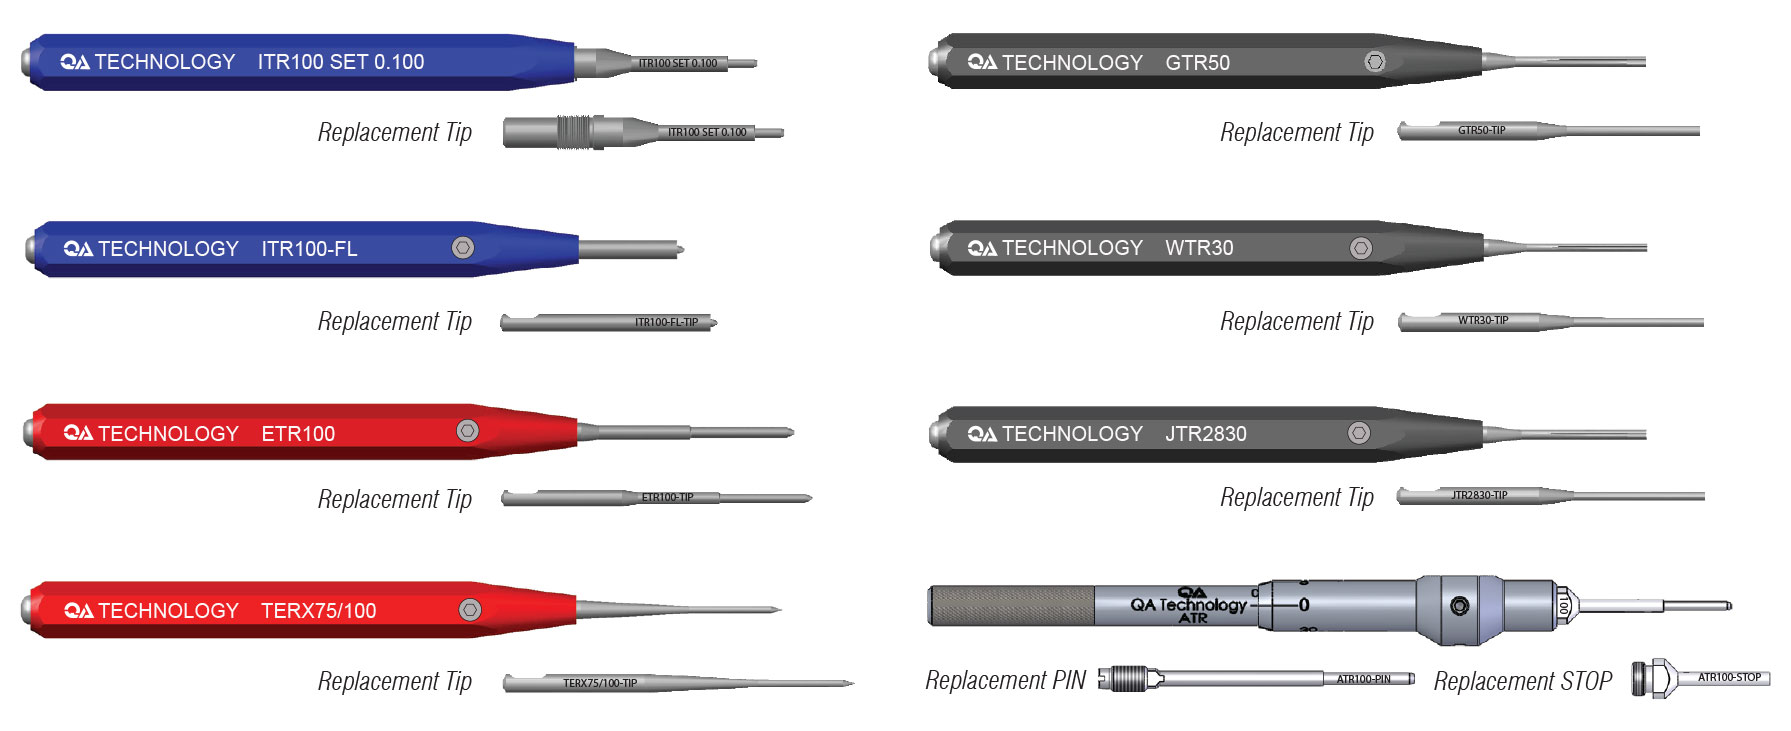
QA Technology tools are designed to allow for easy replacement of a damaged or worn-out tip without having to return the tool for repair. We offer several different replacement methods for various tool products. Please see our catalog or website for individual replacement part numbers. The following are instructions for the different tools we offer.


Clamp the handle in a vise to remove damaged/worn/broken tip assembly. Use soft jaws to prevent damage to handle.
Remove the tip from the handle.
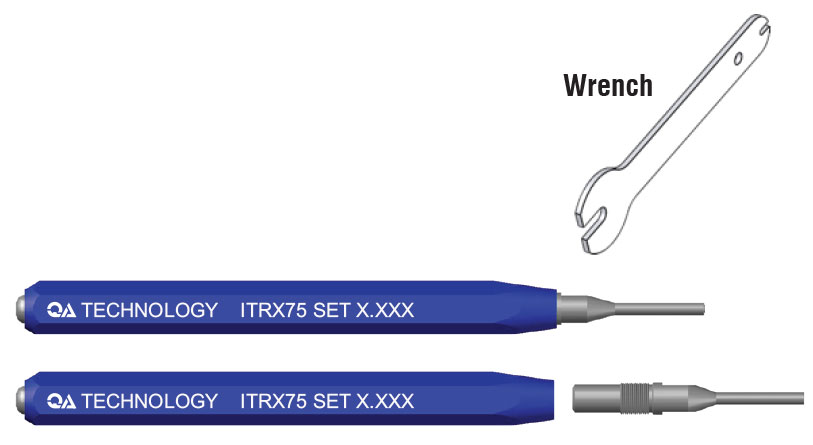
Using the 4.5mm open ended wrench, unscrew the ITR-TIP from the handle.

Thread the replacement tip until it is tightened by using the 4.5mm wrench. Be sure that the tip is tightened securely. Your tool is now ready for use.
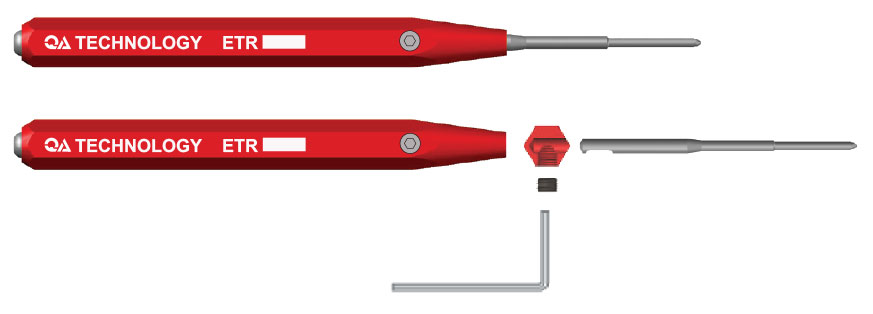
Using the 1.5mm hex key, loosen the set screw from the handle and pull out the tip.

Insert the replacement tip into the bottom of the bore while keeping the flat side on the set screw side.
Tighten the set screw with the 1.5mm hex key. Yourtool is now ready for use.
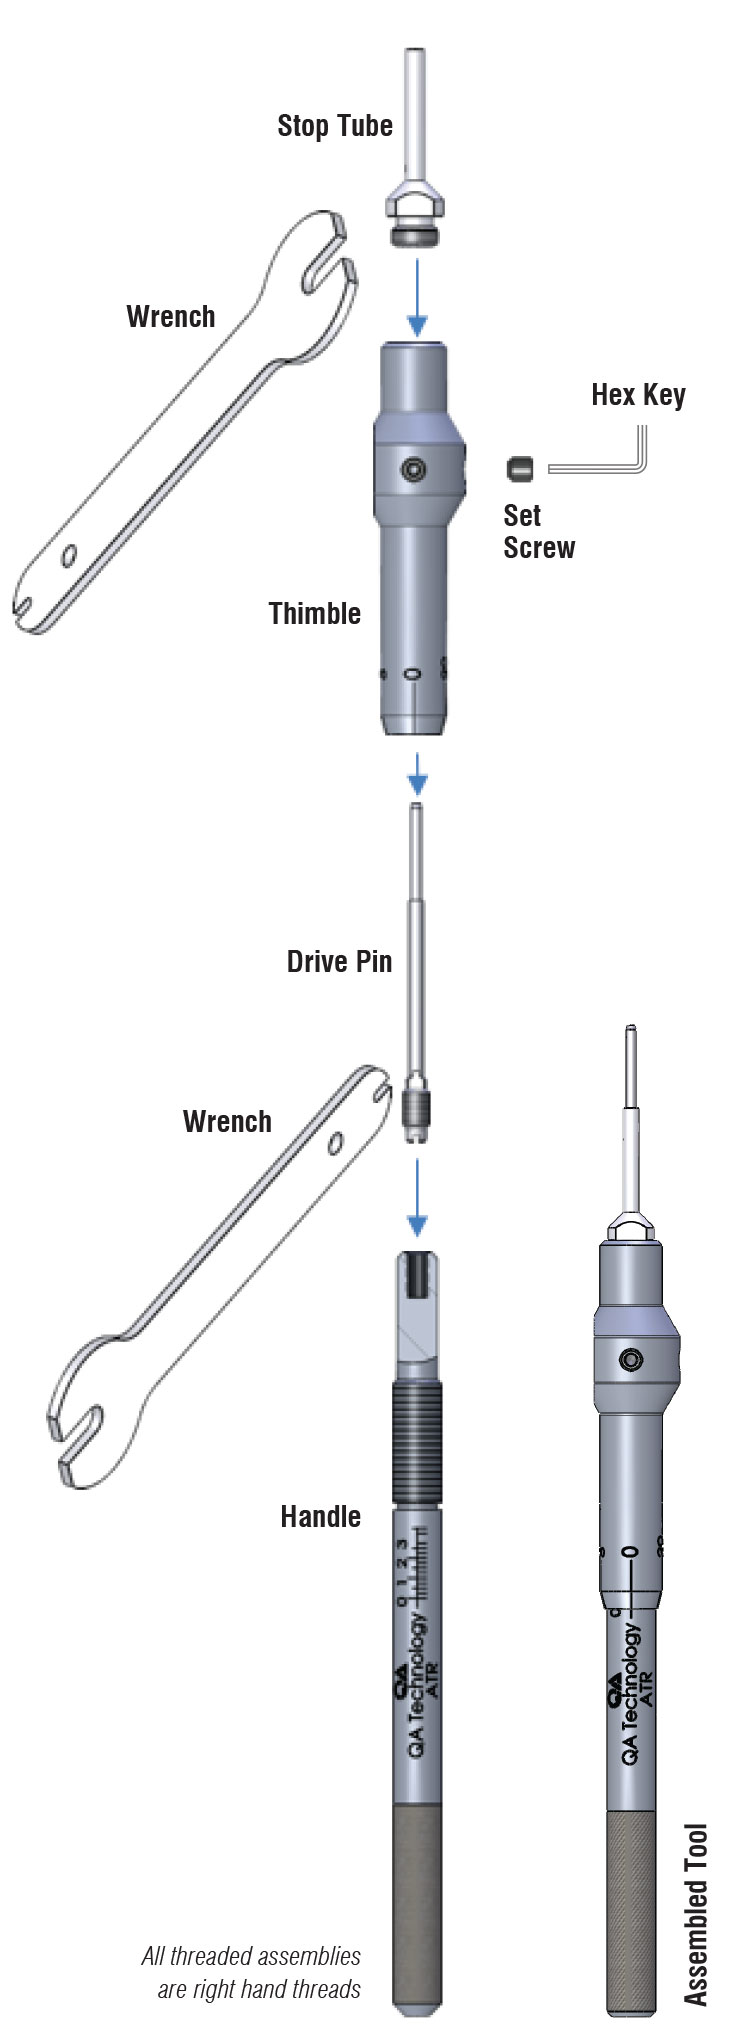
Loosen the two 3mm thimble locking hex screws with the 1.5mm hex wrench key.
Remove the thimble from the handle by unsrewing the two assemblies.
Using the 4.5mm wrench, unscrew the stop tube from the thimble.
Using the 1/16" wrench, unscrew the drive pin from the handle.
Screw the drive pin with 5-4 thread onto the handle, tighten with 1/16" wrench
Screw the stop tube with 10-32 thread onto the thimble and tighten it with 4.5mm wrench
Thread the thimble onto the handle.
Set the tool to the desired set height and tighten the 3mm set screws to maintain the setting

Instructional video on how to replace a broken or bent tool tip.